Once a user clicks on the create new canvas button, the system takes them to the work area where the actual designing of canvas takes place. The first popup option asks the user to enter the name for the canvas and suggests names if the user is not sure what to put in. Also, the user can click the link at the bottom of the popup to see canvases created by other users. The title of the canvas appears at the top of the canvas editing area and by clicking on the name users can easily edit the name of the canvas.
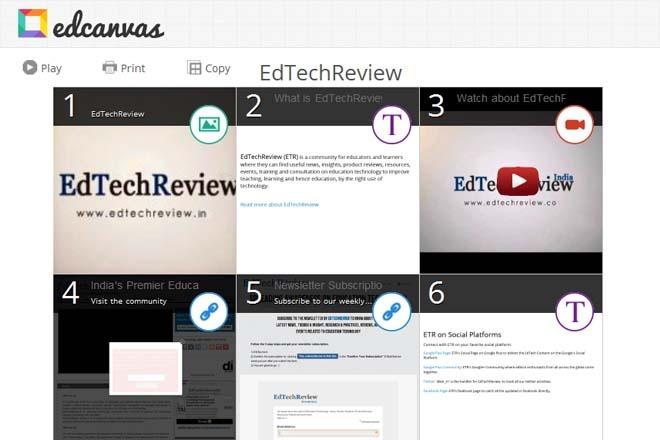
The canvas is basically a tile based layout. By default the system loads the square template, which is nothing but 3×3 square tiles arranged closely together to start off with. Within the editing screen, a toolbar at the top offers features to change the template (change the layout of the tiles), theme (to switch between a black and white or coloured theme), play (to preview how the canvas will actually look when someone views it), printing (to take a print of the canvas in a slide layout), subject (to add a canvas to a particular pre-defined subject and also assign a grade level to it) and share (to share the canvas across the web through URL, code embedding, sharing over facebook and twitter and through e-mail). Additionally, there is an option to share directly on Edmodo and also the user can use the QR Code to share the canvas. Also, if the teacher has already created a class, the canvas can be shared with the class also. This share button also provides an option to set different view permissions for the canvas like only me, public or for people with the link.
Talking about the actual digital content creation using edcanvas, the user can use the simple drag-drop feature of the platform to add different multimedia content from the right resource panel where all the links to different resources are present. The right column allows the user to search and select content like videos, images, web-pages, web-search results, bookmarks, multimedia files and more not only from the local PC of the user but also from the most popular platforms like Google, Flicker, Youtube, Educreations, Gooru, Dropbox and Google Drive .
At the bottom right corner of the screen, there is a ‘settings’ button that allows the user to either allow viewers to comment on the canvas or not. Also within this, there is an option to “Track Views on this Lesson” along with a sorting option to only track views from a particular class.
On the canvas, the tiles are very neatly arranged and as a user hovers the pointer over a tile, the utility option pops up. Using this option a user can add, delete or edit (name and description of the tile) a tile. One of the best features of this platform is the ‘Add Quiz’, which is a default system functionality of the system and can be used for any tile. Though the Quizzes are only multiple choice based, but they can be very useful for the teacher to keep a check on the students while they are going through the canvases as the questions will keep them focused on the content. Also the questions help the teachers to keep track of the students understanding of the topics being covered and also help focus on the progress of each student. Additionally, a canvas is autosaved on every edit, therefore the user need not worry about saving the contents after making changes.
Once a canvas is ready, the teacher can use the ‘Play’ button from the top menu to view how exactly the canvas looks.
For a viewer, the canvas comes up in a neat tile based format. When a user clicks on the tile of any tile, the contents of the tile are shown in a full screen mode with an option to go to the next tile and with an option to add comments in text or voice format if the creator of the canvas has enabled commenting.
Continued on next page…


![[interactive Infographic] History of Social Media Interactive Infographic History of Social Media](https://www.edtechreview.in/wp-content/uploads/Daily/E-Learning/25._History_of_Social_Media-01-01-150x150.jpg)