Visual learning is something that most students enjoy.
A descriptive video with sounds and visuals make learning so much more fun. Popularly known as explainer videos, integrating this media form in education can be of great benefit as complex concepts can be delivered in a simple way. It is experienced by educators worldwide that the learners bond themselves with such videos as they help them to retain the concepts easily. I am going to introduce you today to one such awesome tool using which you can create amazing explainer videos and help students learn in a different way. You may find a video matching your area of teaching or just create one just the way you want.
Once you use it, mysimpleshow is the name that will pop up in your mind whenever you will have to make animated explainer videos. With an easy interface this tool allows you to make descriptive explainer videos with cool graphics and audios that can be a big hit in your class.
The tool gives you the power to transforms your script into a great explainer video. Original simpleshow illustrations visualize your story. Voiceover recording or upload, or alternatively the application’s high-quality text-to-speech tool finalizes your individual explainer video. The tool can be used for professional, educational or personal purposes.
Focusing on the educational purpose, below I’ve illustrated as how you can use the tool.
Teachers, students, trainers and educators can create educational videos about a wide range of topics just the way they like. You can easily introduce, discuss, summarize, or simply explain topics of your choice. A guided process makes it easy for user to create the videos.
The simple 4 step process is all you need to go through to get your video ready. The process starts with finding a storyline for the video you are going to make.
Opt for purpose of making the video followed by giving three key words that relate to the topic you are making the video on. Examples accompany you on every step to help you understand better enabling you to bring out the best.
The platform suggests you the best suited storyline based on the keywords. You can also check more story lines options from the “View all Storylines” option on the screen. There are 10 storyline options and you can also choose a blank template. It’s important to select the right template as the further steps may differ a little. For instance explaining a physical law and making an autobiography have different layouts. So choose wisely. To try the tool, I am going to make an explainer video on Photosynthesis so I have chosen the template “Explain Biological Process”.
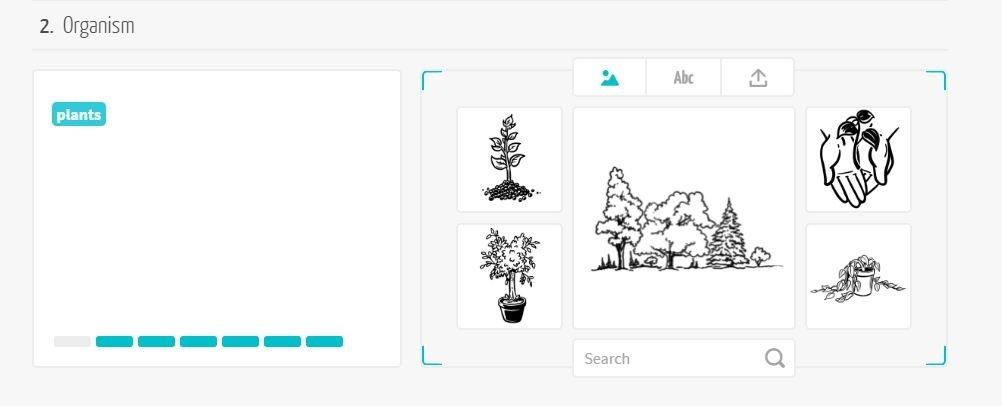
Here comes the main part where you have to create the story for your students. There are 6 parts under this template namely, title, organism, relevance, basic principle, special cases and end. Enter the title on which you are making the video. In the second part, i.e. organism, mention and introduce the living organism that is particularly influenced by the process and where the process occurs.
Under relevance, you have to explain why this process is important for the organism and how does it help to survive. Basic principle is to explain the biological process. Mention the special cases, if any in the next part. This can be any special reaction or variations that occur in the process.
The last part is an interesting one. You can end your video with an interesting fact relating to the process or the organism. One thing that you have to keep in mind is the word limit. For each section there is a word limit mentioned. So make sure that you fit your content within the range.
Once you have completed the storyline, next is to choose the visuals for the story you’ve created.
This is my favorite part of the process. Next to your storyline, there is a panel to add visuals according to the story line. You have the option to pick images that are already there on the platform, add text or upload your own images.
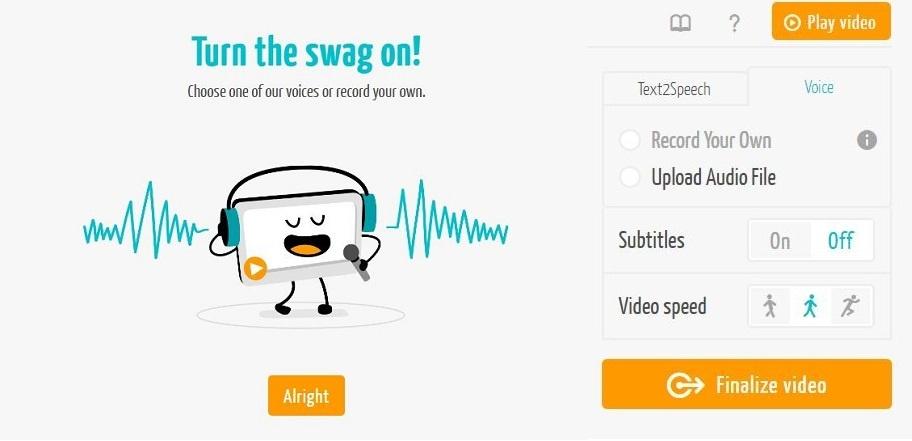
Now, add audio and finalize the video you have created. In this step you have some other options as well. You can keep the subtitles on or off. Decide the speed of the video. Also, you can either opt for text2speech where you don’t have to add any audio or give voice by recording your own or uploading any other audio file.
Once you’ve finalize the video, it takes some time to get the access to complete ready video. You will be notified on your email when it’s done.
Further, you can publish the video on your YouTube account, Vimeo, Wistia or simply download the video.
Below is the video that I’ve created using this tool. Watch it to get a glimpse of what you can do with the help of this great tool.
I recommend educators to give this cool tool a try and make amazing explainer videos using it.
Share your experiences of using the tool with us in the comment section below.


