In the rapidly evolving era, students are presumed to spend all of their personal and professional lives immersed in a digital society.
Educators in today's classrooms must be aware and able to use and integrate both current and emerging technologies. It is very important for educators to make good use of technologies since the classes have shifted to online learning due to widespread of COVID-19. Besides these, they need to balance traditional pedagogical methods with the effective use of technology to foster learning.
There are various educational technology tools for instruction; however, one most useful tool in teaching is screencast. A screencast has the capability to provide learners a student-centered and engaging learning experience in both distance as well as traditional learning settings. This tool enable teachers to create a digital recording of any instructional activity performed on a computer screen and they can be used as learning resources, learning tasks, and learning support.
In this article, we focus on screencasts for teachers and how can it be used to provide an engaging learning experience and help build a community with online learners.
With the sudden shift to online learning, faculty have had to work hard to find good and appropriate ways to connect with their learners and later, had to find ways to get their distanced learner engage and build a strong sense of academic community in the electronic setting. Screencasting can be an effective and easy way to do so. Using this teachers can take a digital video of what they are doing on their computer desktop, and also lets you narrate your video while recording. The possible uses for screencasting are endless; these include providing course orientations, delivering instructional lectures, providing feedback, and encouraging student collaboration.
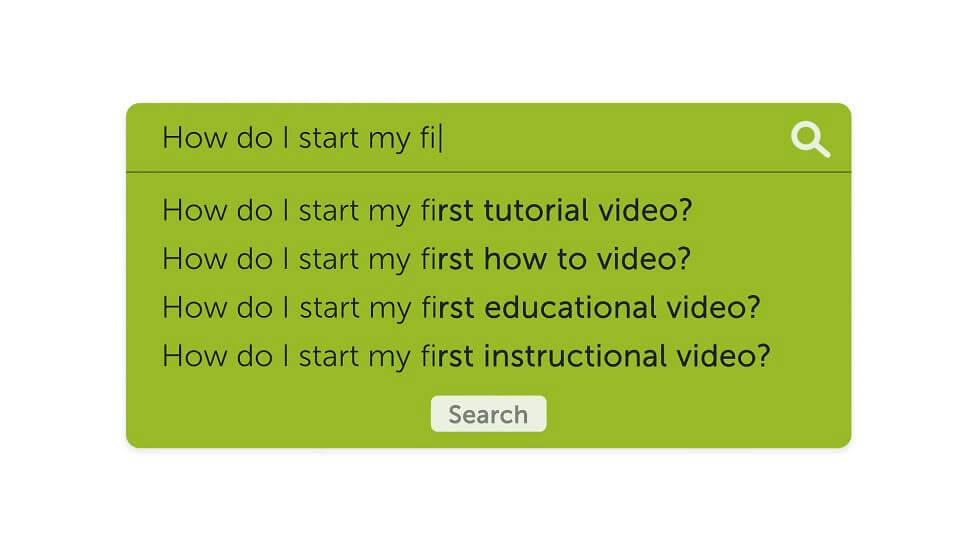
Let's take a look on how you may start your first tutorial video! Follow the below tips:
-
Give Course Orientations:
Before starting an online class, you can create a brief screencast to provide a welcome and visual orientation to the class. This can be especially helpful for students who are new. For better guidance, you may log into the online classroom as a student and record a “tour” of the class that includes procedure to submit assignments, where to check grades, and more. This will help clear students’ confusion and allow you to have a smooth teaching experience.
-
Provide Direct Instructions:
With screencast you get the opportunity to provide some direct instruction in the online classroom. If you’re a chemistry teacher, you can perform an experiment on the other side of the screen and demonstrates your work while narrating an explanation of the steps. Or perhaps a computer teacher , you can explain a complicated JAVA process while visually showing in the screencast what is occurring.
-
Give Feedback:
When it comes to giving feedback, screencasting can be an extremely effective tool to do so. Screencasting, in reality, is a great way to have an asynchronous “conference” with students about their work. It allows instructor to provide narrative comments while showing corrections on the computer screen that appeals to a wide variety of learning styles and preferences.
-
Allow Students to Share:
Giving students an opportunity in class to share their work or allow them to have their say on particular topic through screencasting can take this sharing to a powerful level. In a screencast, students can articulate what they have learnt by far and also explain their work process. Furthermore, those who view these screencasts can learn even more from the explanations of their peers, and the instructor can gain valuable formative assessment information from these screencasts as well and use this to grade their work in the real-time.
How to design a screencast?
Before screencasting, it is essential to prepare an instructional planning to deliver quality instruction, as is a systematic approach to planning. Here’s guide to help you create a screencast quickly and effectively:
- Topic: When screencasting, at first, assign a specific name related to a content topic from your lesson or unit of instruction. Then, decide if the content format will be a presentation, tutorial, or demonstration and proceed.
- Objectives: Specify the learning objectives behind your screencast.
- Script/outline: Post penning down the objectives write a script and/or outline.
- Practice: Go through your script and practice.
- Record: Record yourself with the screen working on. Make sure the screencast is of not more than 10–12 minutes. Remember you have the option of recording the narration in postproduction.
- Recording size: Decide the size of your recording. Some common sizes - blog or web page, 640x360; Screencast.com, 800x450; YouTube, 1,280x720.
- Edit video: After recording, edit your screencast to include graphics, special effects, music, audio, and other video clips, if required.
- Publish video: Last of all; publish the video into a variety of formats. For instance, Camtasia; it has presets that allows you to render your project to WMV (Windows Media video), MOV (QuickTime Movie), AVI (Audio Video Interleave video file), MP4 (iPod, iPhone), iTunes-compatible video, MP3 (audio only), GIF (animation file), and many other custom settings. From the Production Wizard you can share your screencast video on either YouTube or Screencast.com.
Some of the best screencasting software:
- Camtasia
- Screencast-O-Matic
- ScreenFlow
- Screencastify
- OBS Studio
- Apowersoft Screen Recorder
- Icecream Screen Recorder
- Loom
